 |
| Ta da! And Ringo looks on approvingly. |
The difficult thing about taking a weekly dressmaking class is having to wait a whole seven days for the next sewing session, especially when you've got your
sew-jo working! Before the dressmaking course had started at the beginning of October, I had bought the
Green Bee patterns' Frances shirtdress kit for the
Craftsy October sew-along. Well...I ended up starting and finishing the shirtdress last week, between weeks three and four of dressmaking class...and it became The First Dress I Ever Made!
 |
| I prefer it without the belt for that comfy, stop having to hold my stomach in look |
 |
| My wee sis says it's better with the belt |
 |
| Shouting at my boyfriend who was trying to get photos of my double-chin. He succeeded. |
I'm not going to lie, the main reason I was drawn to the Craftsy kit was the allure of the fabric which came with the pattern upon purchase: a whole 3.2m of Cotton + Steel Tangrams from designer Rashida Coleman-Hale's Moonlit collection. Secondary to that was the thought that an easy, comfy shirtdress is something I would definitely like to wear. Whether it would suit me or not, I had no real idea or faith in. It was more about working with such pretty fabric (that I'd been coveting for quite a while) and seeing if I could actually make a finished item which looked like the one in the Craftsy picture.
I didn't even for a second think about what was involved in making a shirtdress, which is strange because I have been blog-browsing, book-reading and pinterest-surfing for long enough to get an idea of what is involved in producing a garment like this. But spurred on by reading Mary of the superb
Idle Fancy blog and her
Autumn of 1000 Shirtdresses sewing challenge (running till 10th December), I thought bugger it, let's do this! I also was comforted by the fact there was complete sewalong support in the Craftsy class by none other than the designer of the pattern, Alexia Abegg, also a Cotton + Steel alumni.
 |
| Who needs weights when you have Bonnie and the Wee Man |
Even though I washed the fabric, I chickened out of actually cutting into it and instead opted to make a toile first, using bargain cotton ($2 a metre!) I had got a few days before. I actually had two pieces of the fabric 1.5m and 1.35m but luckily it was quite wide at 52" (aye, I know I'm mixing my imperial and my metric, so sue me) so I managed to cut out most of the dress from the biggest piece and only had to use the smaller piece for the plackets and sleeves.
According to my measured sizing I matched up to the XL on the pattern, but when I measured the pattern pieces I was closer to an L. I am so glad I cut that size as the XL would have been tent-like. I was worried that the L might be too snug but it's perfect and still a tiny bit roomy up top. Measuring pattern pieces is one of the most useful lessons I've learned at the dressmaking class. Thanks again to my wonderful teacher
Alexandra!
 |
| Double-ended dart |
 |
| Two rows of gathers |
 |
| Gathered back bodice attached to yoke |
 |
| Collar taking shape |
 |
| Plackets before (left) and after (right) |
 |
| Woohoo, I have an almost dress! |
I'd been working on the dress for around three full days (including tracing and cutting which I am super slow at!), and everything had been going swimmingly. Darts, gathers, plackets, and a collar tried to defeat me and failed, in fact I quite enjoyed doing them, especially the collar and plackets which were both firsts. (Again, I cannot emphasise how slow I work and how long each process took me). Then came the buttonholes.
 |
| How I'll always think of buttonholes now |
My biggest worry was actually sewing on the buttons (the last step) as my hand-sewing is crap, but before that I had the whole frustration of trying to make a bloody buttonhole with my machine. I spent a good few hours trying to work out how to get my model of machine (which purports to be a One-Step...aye right) and buttonhole foot to do what I knew it could do. I watched videos, read tutorials and tried every combo of stitch setting known to man, woman, and cat trying to get the darn thing to work.
 |
| Check how smug that buttonhole foot looks in this stock photo. Yeah, well real life ain't always like stock photos! |
The closest I could get was that the machine seemed to be doing the button hole stitch but only over and over in the same spot. So...back to the drawing board. I read that you can still use your machine to sew a buttonhole, without using the buttonhole foot. I also put a callout on facebook, a) to save me from my rapidly decreasing sanity and b) to get advice from experienced sewing pals.
Something else also helped, and that was the three special editions of the Great British Sewing Bee, this time with celebrities, for the sake of Children in Need (a national charity in Britain and a cause that the BBC has lovingly backed for decades).
 |
| Veering into Fawlty territory but he's still got it |
Over the course of the three programmes last week some great garments were paraded before judges May and Patrick (looking suaver than ever with a 1940s-style moustache, farewell beard), as well as some hilarious efforts. This was my favourite and made by complete newbie to sewing, Hairy Biker TV cook, Dave Myers. Isn't it groovy?
Feeling re-pumped up with motivation and determination I tried again with the buttonholes. A good friend (thank you Ann) talked me through a step-by-step guide to stitching the buttonhole with my machine and I also used
this tutorial I found online (I understand better when I can see pictures). And at last, it worked! My euphoria was short lived when I took seam ripper to dress and tried to open the button hole and this happened:
 |
| Aaaarggh!!! |
I had used mediumweight fusible interfacing and after the fabric and interfacing had been folded twice over to make the placket, it was really tough to get the seam ripper in and moving in any direction without a lot of force. Yarg. So my own fault really, as the pattern did call for lightweight interfacing. And...I should have done this too:
 |
| And yes I did pin each buttonhole thereafter |
|
 |
| Fecking YAS |
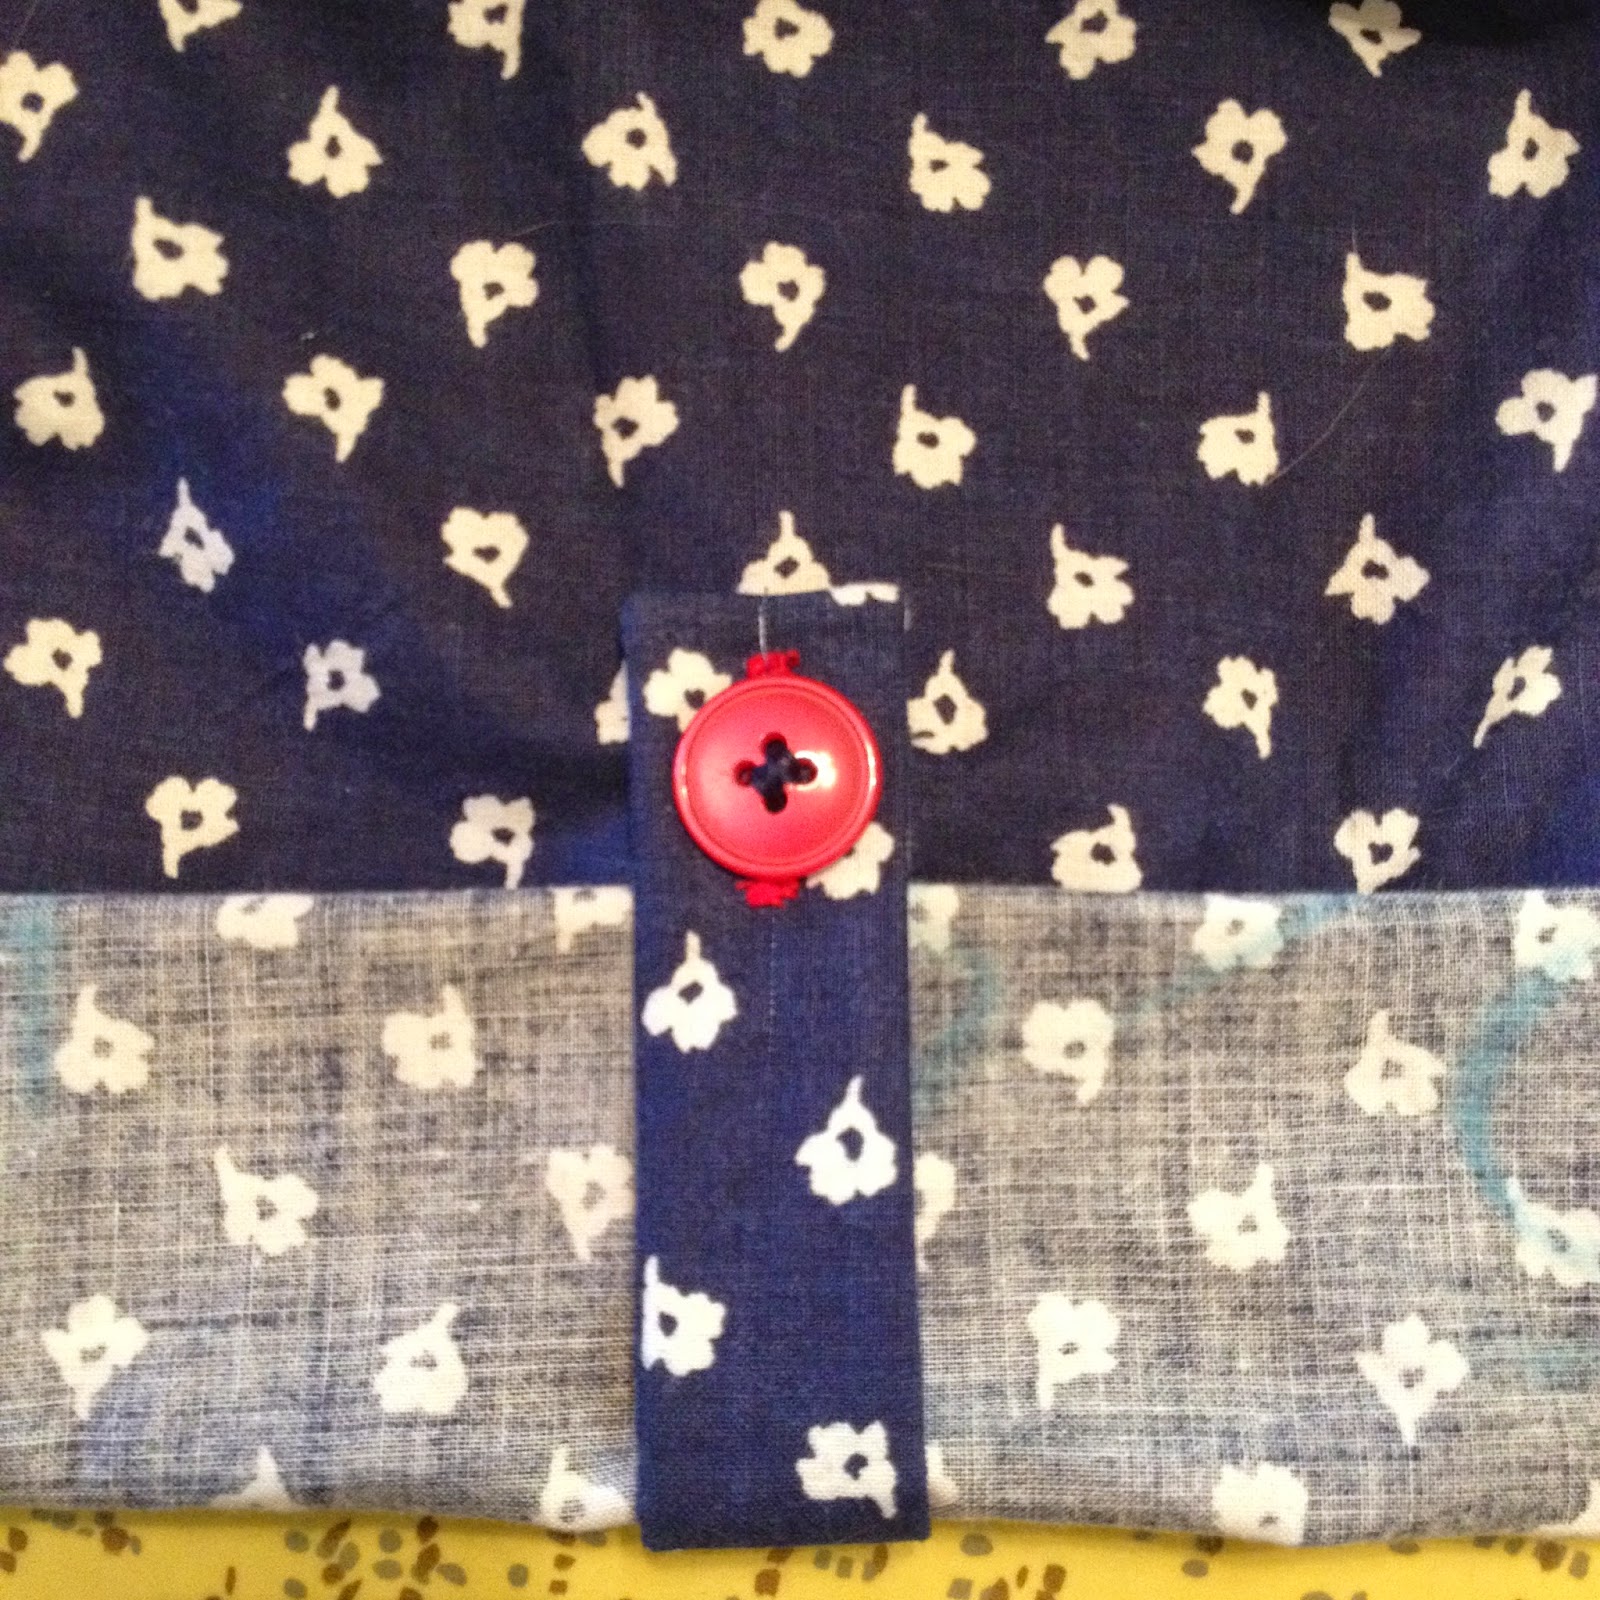 |
| Nice wee sleeve tab if I may be so bold |
So yes, I learned a lesson the hard way. I even got to practice my darning skills by repairing the ripped hole (thankfully I had at least had the savvy to attempt the first buttonhole at the bottom of the dress which won't be quite as visible as it would have been near the neck).
 |
| Love that gathered back |
All in all, it probably took me 5 days to make. I left off the breast pocket, though I still have it and still mulling whether to add it on or not. And the arms were far too long, I've rolled them up to my elbows which is where I'd like them to sit, so I'll move the sleeve tab up a bit. Also would like to have the right side of the fabric showing when my sleeves are rolled up, and not the wrong side, and one of the fellow sewers on the Craftsy sewalong suggested a tip for that.
 |
| That daftie Bonnie climbed up inside the sleeve of my dress then got herself stuck when Baby started attacking her |
After all that, I think I have a pattern that I can sew again and again. And of course I still have the untouched Cotton + Steel fabric to use.
There were a few techniques that were nearly the undoing of me, and some that went fairly smoothly despite any lack of skill on my part. Call it beginner's luck. If I had known what a challenge a dress with a collar and buttons would be, I may not have attempted this pattern for a good long while. But I was blissfully unaware and fortune favours the ignorant sometimes.
Having finished the dress last Friday night, I was able to wear it the next day to: a sale in my favourite local fabric shop; a vinyl record fair; and then the final dressmaking class of my 4-part course. My teacher and the sewing studio owner were so complimentary about my dress, I felt a million bucks. Even better than that, I actually felt quite nice in it. A turn up for the books these days!
 |
| Everly Brothers vinyl porn |
Round up:
- approx 2.5m (52" width) of cotton at $2 a metre
- navy and red thread from stash
- half a yard of mediumweight fusible interfacing from stash
- 10 red buttons from local fabric shop, $5.60 in total (I've never bought buttons before, so no idea if this was expensive or not. I bought the cheapest they had though!)
- Craftsy sewalong class and dresskit including Frances pattern and 3.2m of Cotton+Steel Tangrams in Indigo USD$64.14 (including taxes and shipping to Canada)
- playlist: everything by The Everly Brothers


So much love for this!
ReplyDeleteI'm glad I stumbled upon this post of yours. I, too, bought the Tangrams fabric and Frances dress pattern from Craftsy, opened it all up, laid it out... and chickened out! I see that I should just go buy some cheap fabric and make a muslin like you did to work out the kinks (I also have never sewn a button hole! ; ) Thanks for all the tips!
ReplyDeleteHi Sarah, oooh I am glad to be of help! I'm still very very new to sewing so not much to offer 'cept my mistakes (but that can be valuable when your fabric is precious eh!). Would you believe I still haven't made the Frances in the Tangrams yet? Must do it soon. I'll check out your blog/IG to see how you get on with Frances. I reckon cheap cotton is a great idea for you to test it out first. Also for sizing, because I chose a size down from what the packet said, so you might find you do the same. Good luck, it's a really cute pattern (the neck is a little big for my liking, but not terrible). Thanks for the comment! :) shirley
DeleteThis comment has been removed by the author.
ReplyDelete